How to measure a bathroom before adding storage
A useful organizer must fit the smallest clear space, preserve plumbing and motion, and use a mounting method approved for the real surface.
1. Draw the room and every fixed obstruction
Record the narrowest floor width, available wall width, ceiling height and walking path. Mark the toilet, vanity, tub or shower, door swing, towel bars, outlets, supply valves, drain, baseboards and trim. A product must fit the smallest usable rectangle, not the largest empty-looking area.
2. Measure under the sink in three dimensions
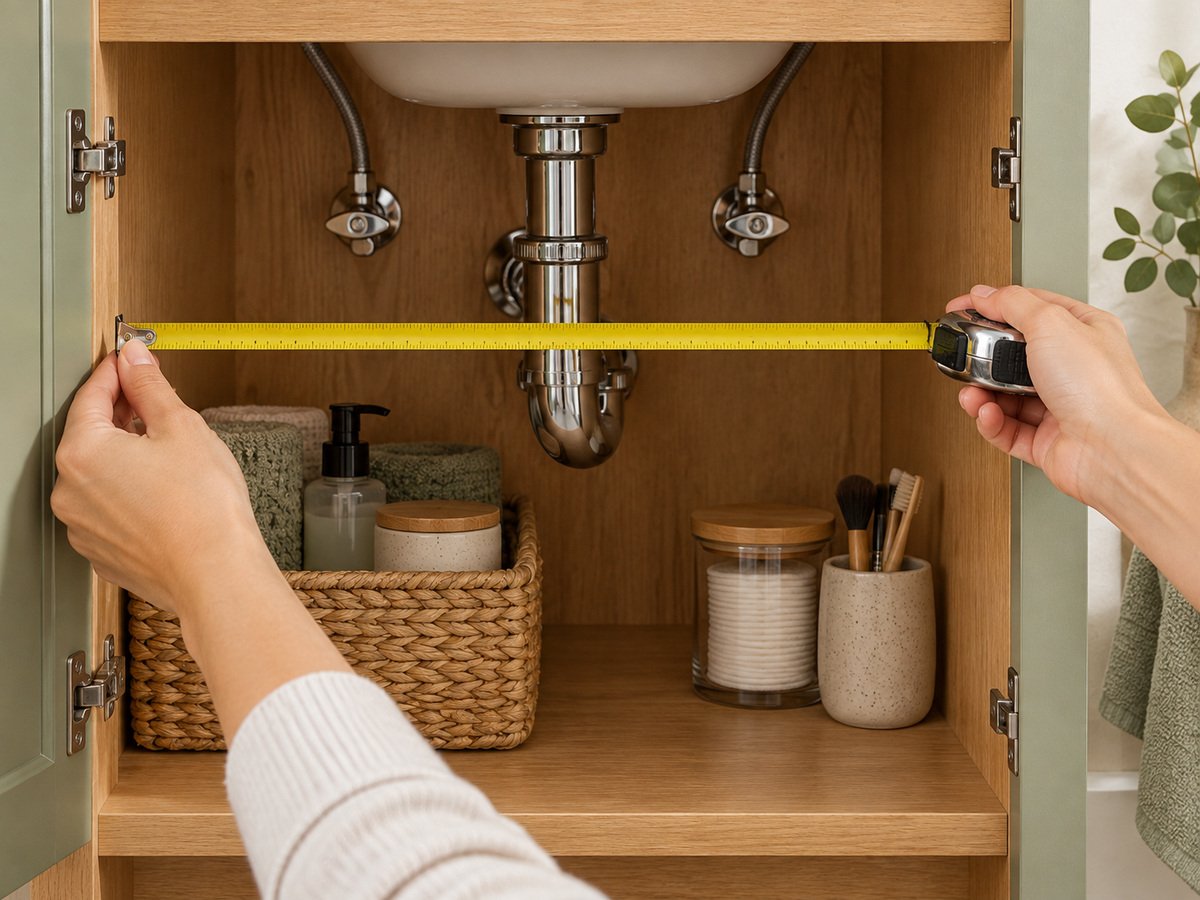
Measure the clear opening and the interior at the front, middle and back. Map the P-trap and both shutoff valves as separate obstacles. Preserve hand access to every valve: a bin that technically fits can still block emergency access or make leak inspection difficult.
3. Add the operating envelope
Open every cabinet door and drawer fully. Lift the toilet tank lid, raise the seat, rotate the showerhead and test the bathroom door. For pull-outs, record full extension plus hand clearance; for over-toilet units, record tank height, tank-lid lift and the widest point of the toilet.
4. Classify the surface and moisture zone
Identify drywall, stud-backed wall, tile, glass, fiberglass, acrylic or painted masonry. Also note whether the location stays dry, receives occasional splashes or is continuously wet. The exact product manual—not a generic adhesive claim—must allow that surface and exposure.