How to measure a closet for an organizer without guessing
Measure the closet as a three-dimensional space, then map everything that steals usable room. Take width and height in more than one place, record the smallest relevant measurement, and treat the door opening—not just the back wall—as a hard constraint.
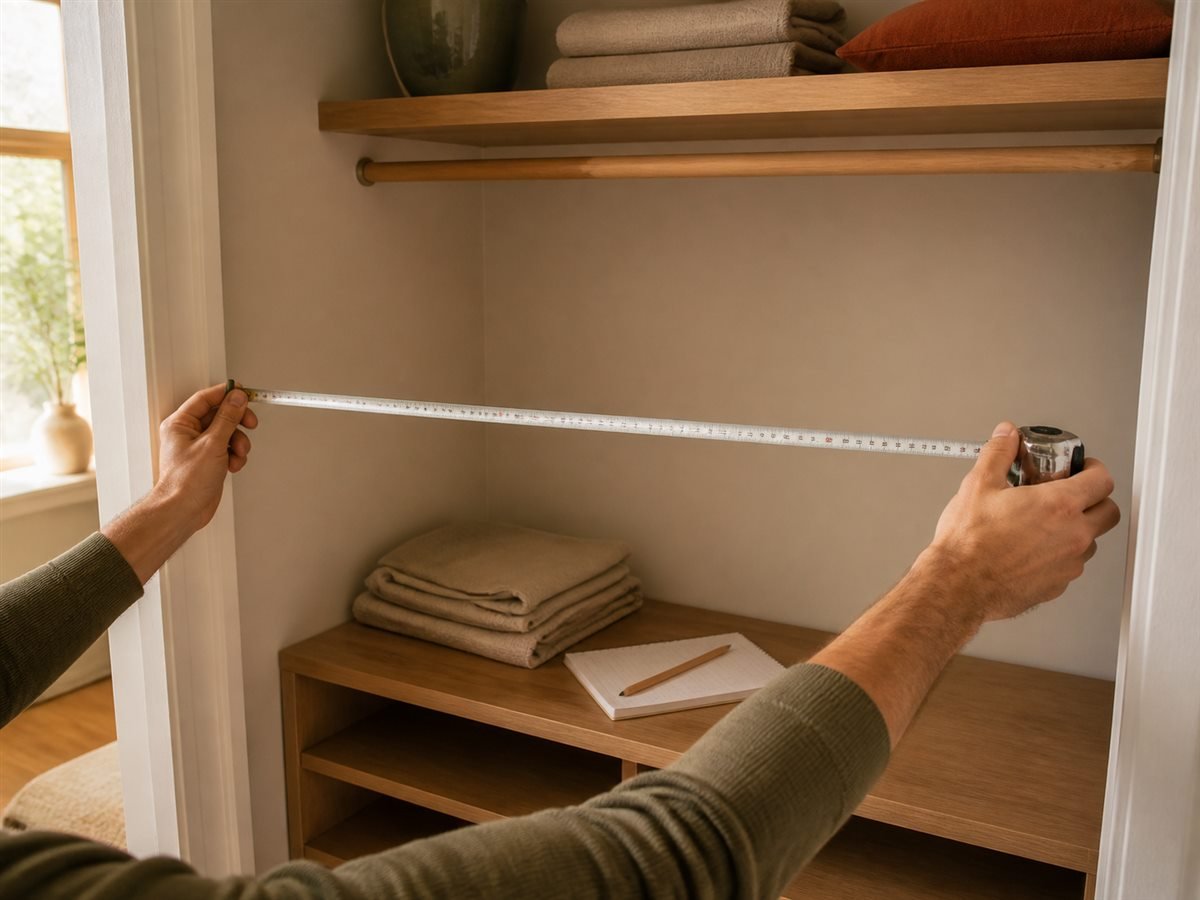
Editorial illustration. Product fit must be checked against the current manufacturer diagram.
Measurement sequence
1. Empty enough space to see the boundaries
You need a rigid tape measure, pencil, paper or graph paper, painter’s tape, and a phone for reference photos. Remove loose items that hide the floor, trim, or back corners. You do not need to strip the entire closet if you can reach every measurement point safely.
Sketch the opening first. Label the back wall, left return, right return, ceiling, floor, and each door panel. The sketch does not need to be pretty; it needs to prevent a number from losing its location.
2. Measure width, height, and depth more than once
Width
Measure wall to wall near the floor, around mid-height, and near the ceiling. Older walls may bow or meet at imperfect angles. For a rigid component, the smallest relevant width is the safer planning number. Record all three instead of discarding the differences.
Height
Measure floor to ceiling at the left, center, and right. Note soffits, sloped ceilings, lights, sprinkler heads, attic access, or anything that limits the top zone. Also measure above the baseboard when a frame or tower will sit close to the wall.
Depth
Measure from the back wall to the front boundary on both sides. Then measure the usable depth created by the door opening. A closet can be deep overall while still hiding shelves or drawers behind a narrow opening.
3. Treat the opening and returns as separate measurements
For a reach-in closet, record the clear opening width and height inside the trim. Next, measure the short wall sections to the left and right of that opening—the returns. Deep returns can create storage zones that are hard to see or reach, while wide drawers may be unable to pull out through the opening.
Document how the door moves:
- Sliding doors: note how much of the opening is accessible at one time and whether a center overlap blocks drawers.
- Bi-fold doors: measure the folded stack and hinge projection.
- Hinged doors: trace the swing and include handles, hooks, and nearby furniture.
- No door: record curtains or plans for future trim so the system does not consume that space.
4. Put every obstruction on the sketch
Measure the location and projection of baseboards, outlets, switches, vents, pipes, access panels, lights, and door hardware. For each one, record its distance from two fixed edges. A single distance is not enough to locate an object in a plane.
Do not cover ventilation, electrical access, or required service areas. If a wall-mounted kit is under consideration, identify the wall material and stud locations separately; product instructions determine the appropriate hardware and spacing.
5. Create a buy/no-buy worksheet
| Field | Your measurement | Product requirement | Pass? |
|---|---|---|---|
| Smallest usable width | ______ in | ______ in | □ |
| Smallest usable height | ______ in | ______ in | □ |
| Usable depth | ______ in | ______ in | □ |
| Clear door opening | ______ in | Largest component: ______ in | □ |
| Drawer/door operating space | ______ in | ______ in | □ |
| Baseboard projection | ______ in | Rear clearance: ______ in | □ |
| Wall and mounting permission | Type: ______ | Manual checked: □ | □ |
A system passes only when the exact variant fits all hard constraints. Product package dimensions are not the same as assembled dimensions, and the order of width, depth, and height can differ between listings. Confirm the labeled diagram.
Common measuring mistakes
- Taking one width measurement and assuming the walls are parallel.
- Measuring the back wall but not the clear door opening.
- Ignoring trim or baseboards where feet and uprights sit.
- Checking the cabinet body but not drawer, lid, or door motion.
- Using a product-family name without confirming the selected size or variant.
- Buying before checking the installation manual and wall requirements.
What to do with the measurements
If drilling is restricted or the room may change, continue with the freestanding closet systems comparison. If the wall is suitable and open floor area matters, see wall-mounted closet systems. For the full decision sequence, use how to choose a closet system.